[19 Apr 2026] [中文版]
Google AI Edge Gallery: Edge Computing Lab #2 [Includes Python Code]
I have always believed that the easiest way to learn something new is to build upon what you already know.
Following my previous hands-on experience using HTML and JS to call the “Ask Image” model via CDN, I decided to step into the world of Python to challenge a different implementation method.
Background:
I don’t have prior practical experience with Python, nor have I taken formal courses. But that is exactly what this lab is about—exploring the Python universe and bridging that “last mile” of technical implementation.
🔍 What is a Local LLM?
Before diving into the testing, let’s clarify a term you might hear often: Local LLM.
Many people find “Edge Computing” confusing. It actually represents an evolution in computing architecture. We can understand it with a simple analogy:
- Cloud AI: Like a massive central library. You have to send a letter (API Call) to ask a question, and it mails a response back to you. While it has millions of books, you have to wait for the postman (Network Latency).
- Local LLM (Edge AI): Like moving the “essentials” from that library onto a bookshelf in your own home (Local Device). You can consult it anytime without waiting for the mail.
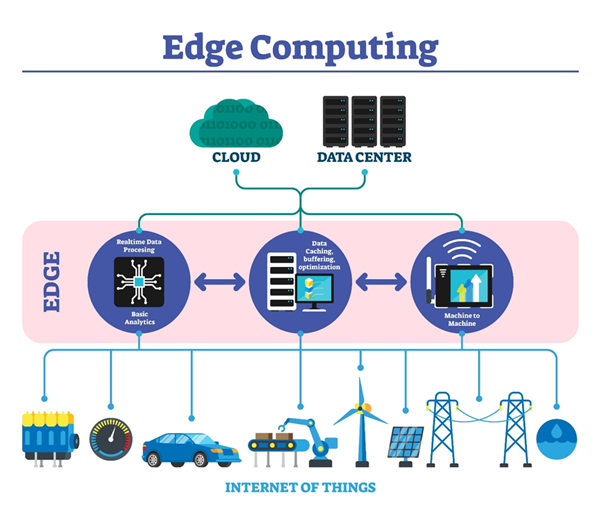
This “Local” mode means the model runs directly on my computer. It doesn’t require an internet connection, and data isn’t uploaded to the cloud—offering a true sense of security.
📊 Scan Report: When AI Meets Reality
Now for my favorite part—testing how well this “home bookshelf” actually recognizes things.
【Test 1: The Cat Cafe Close Call】
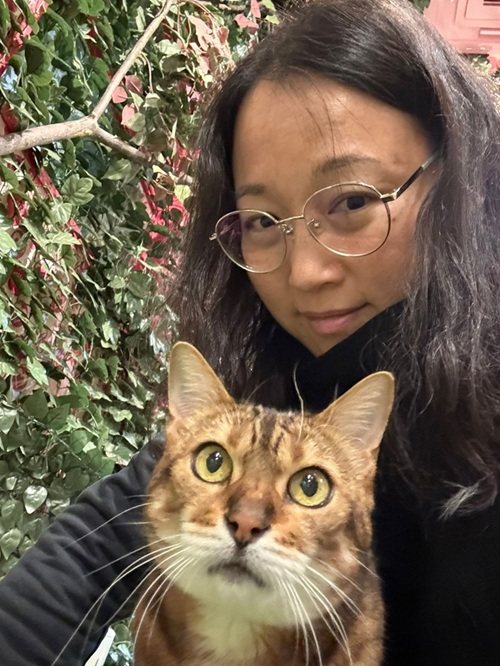
This was a selfie taken with a Bengal cat in Osaka. The scan results:
- PERSON (77.97%): Stable detection, covering the main area of the photo.
- CAT (30.25%): A narrow escape!
- Diagnosis: Because the background greenery and the cat’s spots created a natural “camouflage,” it almost got filtered out (just barely staying above the 30% threshold). Good job, kitty!
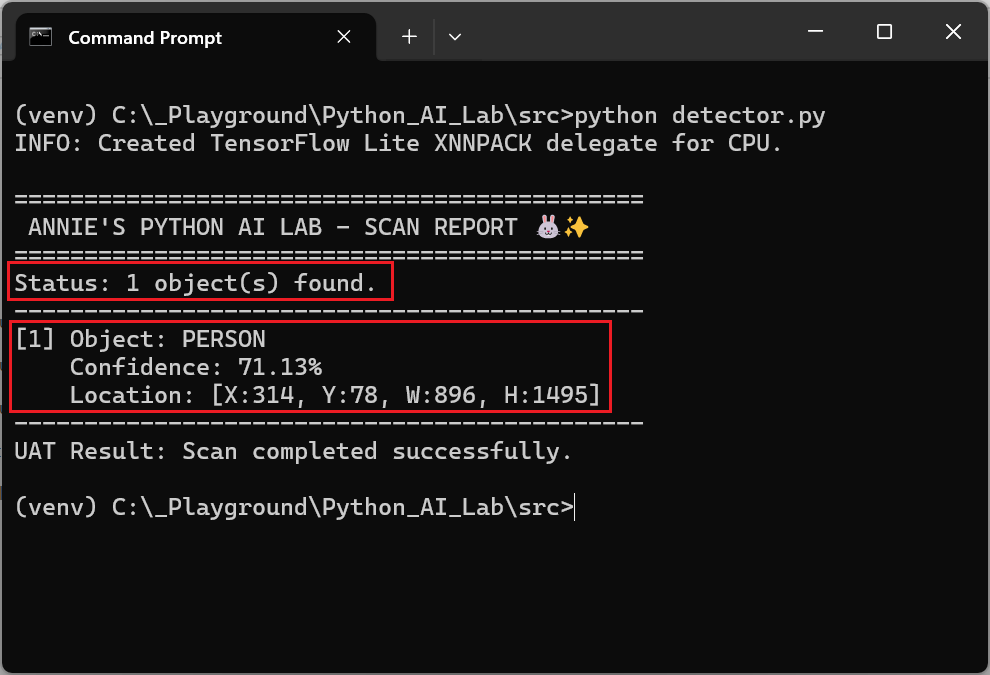
【Test 2: “Soul Fusion” with a Sea Monster】

This was a funny case of a False Positive. When I buried my face into a Loch Ness Monster plushie, the AI identified:
- PERSON (71.13%)
- Diagnosis: The AI perceived “My Face + the Plushie” as a single PERSON. Because the plushie’s closed eyes overlapped with my facial features and there was no clear visual boundary between us, the AI concluded we had achieved “soul fusion.”
🚀 Conclusion & Outlook
While Local LLMs currently have a gap in precision compared to cloud models (which have massive computing power backing them), the potential is exciting.
I look forward to the near future where Edge Computing becomes even faster and more impressive. The technical adventure continues—stay tuned for the next lab report!
🛠️ Development Environment Setup (Technical Guide)
If you want to try this yourself, here is my workflow:
Step 1: Create a new folder on your computer (e.g. C:\_Playground\Python_AI_Lab\).
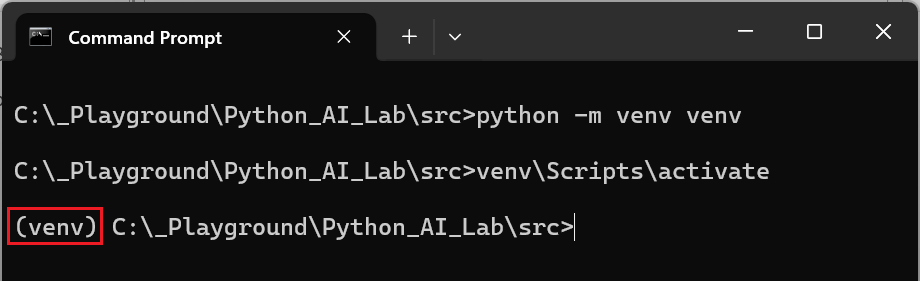
Step 2: Create a Virtual Environment (Run in Terminal/Command Prompt):
- Create: Run
python -m venv venv. This creates a folder for your environment. - Activate: Run
.\venv\Scripts\activate.
註:
- Windows: venvScriptsactivate
- Mac/Linux: source venv/bin/activate
- Confirmation: You should see
(venv)on the left side of your command prompt. This means your environment is isolated.
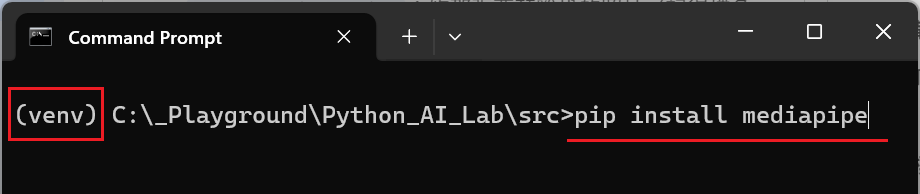
Step 3: Install the AI Engine
Command: pip install mediapipe
Note: Google AI Edge’s Python support is primarily implemented through the MediaPipe library.
Note: If you close the terminal (the black window) later, remember to run the .venv\Scripts\activate command again the next time you want to continue working with the Python version.
Step 4: Download the Model File
Download the model file and place it in the same folder as your .py script:
- Model Link: efficientdet_lite0.tflite
Step 5:Write the Test Script (detector.py)
import mediapipe as mpfrom mediapipe.tasks import pythonfrom mediapipe.tasks.python import vision# ==========================================# Annie's AI Lab - Object Detection Script# Model: EfficientDet-Lite0# ==========================================def run_detection(): # 1. Configuration: Set the model path # Ensure 'efficientdet_lite0.tflite' is in the same directory model_path = 'efficientdet_lite0.tflite' # 2. Detector Options Setup # score_threshold: Lowering this might help find the "hidden" celery! base_options = python.BaseOptions(model_asset_path=model_path) options = vision.ObjectDetectorOptions( base_options=base_options, score_threshold=0.3, running_mode=vision.RunningMode.IMAGE ) # 3. Create Detector Instance with vision.ObjectDetector.create_from_options(options) as detector: # 4. Load the input image # Ensure the filename matches your photo (e.g., 'test.jpeg') image_file = 'test.jpeg' try: numpy_image = mp.Image.create_from_file(image_file) except Exception as e: print(f"Error: Could not load image file '{image_file}'. {e}") return # 5. Execute Inference detection_result = detector.detect(numpy_image) # 6. Output Analysis Report print("\n" + "="*45) print(" ANNIE'S PYTHON AI LAB - SCAN REPORT 🐰✨") print("="*45) if not detection_result.detections: print("Status: No objects detected above threshold.") print("Action: Try lowering the score_threshold in the code.") else: print(f"Status: {len(detection_result.detections)} object(s) found.") print("-" * 45) for i, detection in enumerate(detection_result.detections): category = detection.categories[0] label = category.category_name.upper() confidence = round(category.score * 100, 2) # Retrieve Bounding Box Coordinates bbox = detection.bounding_box print(f"[{i+1}] Object: {label}") print(f" Confidence: {confidence}%") print(f" Location: [X:{bbox.origin_x}, Y:{bbox.origin_y}, W:{bbox.width}, H:{bbox.height}]") print("-" * 45) print("UAT Result: Scan completed successfully.")if __name__ == "__main__": run_detection()
Step 6: Name your test photo test.jpeg and place it in the folder.
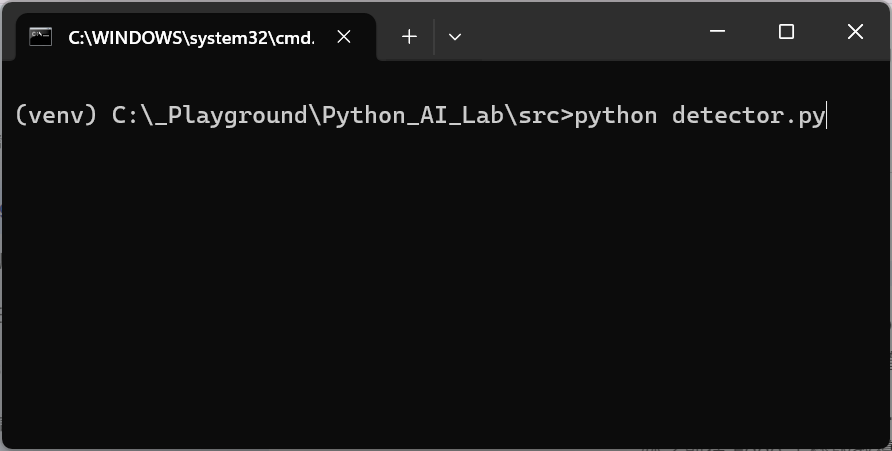
Step 7: In your (venv) terminal, run: python detector.py
💯 Test Complete! ✨
