[19 Apr 2026] [English Version]
Google AI Edge Gallery邊緣運算實驗室 2 [含程式碼 Python]
我一直深信,基於已有的知識去學習新事物是最容易上手的。
繼上次實戰過 HTML 與 JS 呼叫 CDN 的「Ask Image」模型後,這次我決定踏入 Python 的世界,挑戰另一種呼叫方式。
背景交代:
我並沒有 Python 的實務經驗,也沒上過相關課程。但這就是實驗室的精神——在 Python 的世界裡探險,打通技術的一條路。
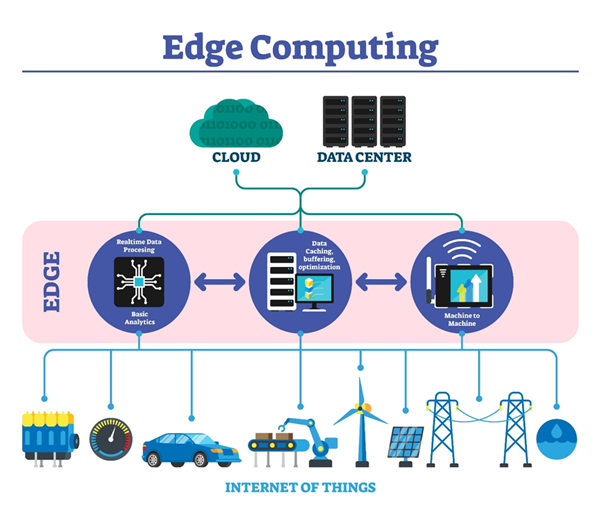
🔍 什麼是 Local LLM?(本地大語言模型)
來補充一下,釐清一個大家常聽到的技術術語:Local LLM。
很多人對「Edge(邊緣運算)」一頭霧水,其實這反映了計算架構的演進,我們可以用一個簡單的比喻來解釋:
- Cloud AI (雲端 AI):像是一間超大型圖書館,用家(User)要寫信問它問題(API Call),它再回信給妳。雖然藏書萬卷,但需要等待郵差往返(網路延遲)。
- Local LLM (本地 AI):像是把圖書館的一部分精華書架搬回自己家(Local Device),隨時翻閱,不用等郵差。
📊 掃描報告:當 AI 遇上現實生活
接著就是我最喜歡的實測環節,看看這個搬回家的「精華書架」辨識力如何:
【測試一:大阪貓 Cafe 的驚險辨識】
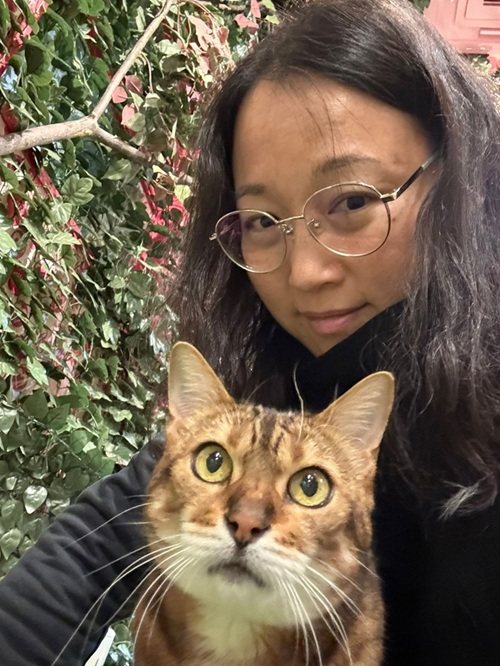
這是一張我與豹貓的自拍。掃描結果顯示:
- PERSON (77.97%):穩定輸出,座標涵蓋了整張照片。
- CAT (30.25%):驚險過關!
- 診斷:由於背景植披與豹貓花紋形成了天然的「保護色」,差點就被過濾掉(低於 30% 門檻)了,好險貓咪有爭氣!
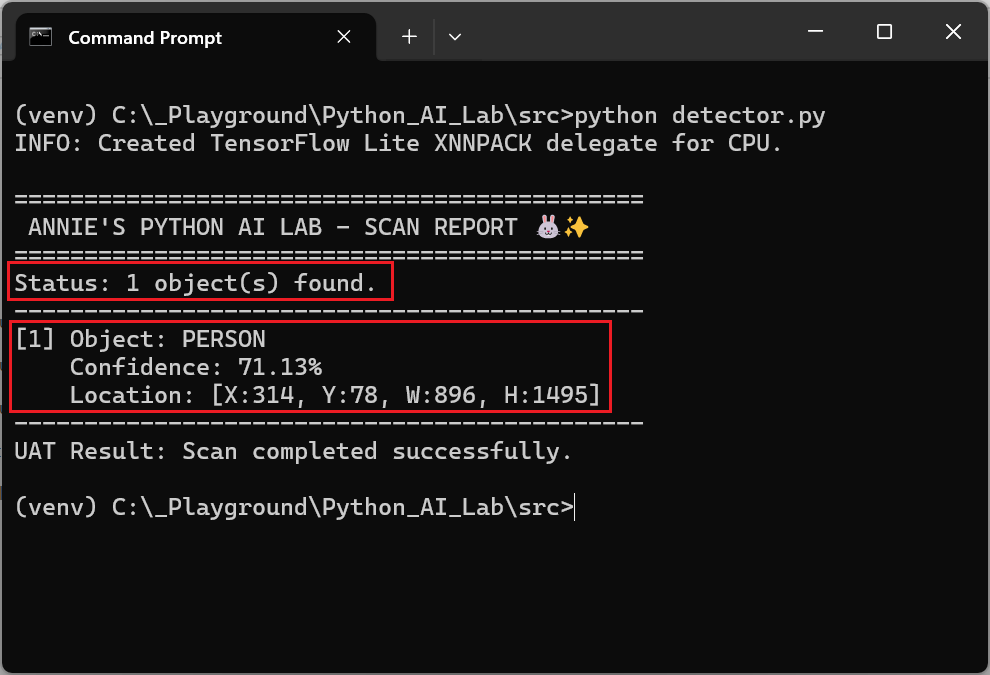
【測試二:水怪咕𠱸的「靈魂合一」】
這種「本地」模式,代表模型直接跑在我的電腦裡,不需要連網,數據也不會上傳雲端,帶來真正的「安全感」。

這是一個有趣的 False Positive (誤判) 案例。當我把頭埋在水怪咕𠱸時,本地 AI 竟判定為:
- PERSON (71.13%)
- 診斷:AI 把「我的臉 + 公仔」看成了一個整體的 PERSON。因為公仔閉著的眼睛與我的臉部特徵重疊,加上空間上沒有邊界斷層,導致本地 AI 認為我們「靈魂合一」了。
🚀 結語與期待
雖然現階段的本地 AI 在辨識精準度上與雲端模型仍有差距(畢竟雲端有強大的運算後援),但它展現的潛力令人興奮。
我非常期待在可見的將來,這種「邊緣運算」能達到更快速、更令人眼前一亮的效果。技術探險仍在繼續,讓我們一起期待下一次的實驗室報告!
🛠️ 開發環境建置 (技術指南)
如果你也想動手試試看,這是我的實戰流程:
步驟一:在電腦開一個新資料夾(例如 C:\_Playground\Python_AI_Lab\)。
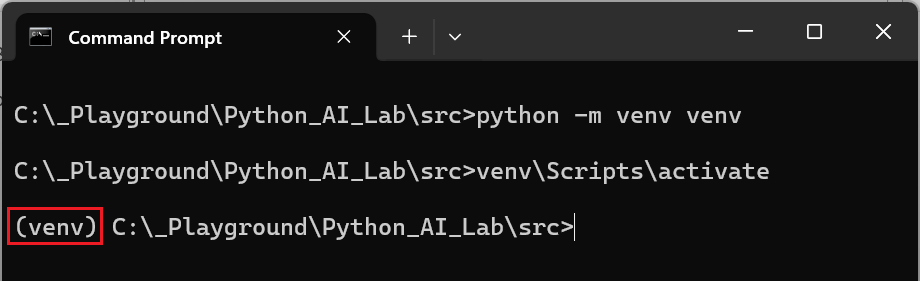
步驟二:建立虛擬環境 (在 Terminal / 命令提示字元輸入)
- 建立環境:執行 python -m venv venv 成功建立了虛擬環境資料夾 。
- 啟動指令:執行 .\venv\Scripts\activate 成功呼叫了啟動腳本 。
註:
- Windows: venv\Scripts\activate
- Mac/Linux: source venv/bin/activate
- 狀態確認:提示字元左側出現了 (venv),這表示目前的終端機已經與系統其他的 Python 環境隔離,現在安裝任何套件都會待在這個資料夾裡 。
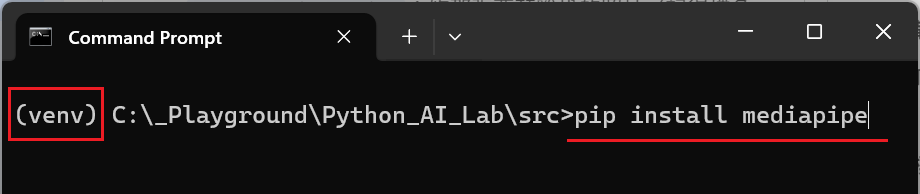
步驟四:接著在同一個視窗輸入以下指令來安裝 AI 引擎
安裝指令:執行 pip install mediapipe
註: Google AI Edge 的 Python 支援主要是透過 mediapipe 這個庫來實現的。
註: 如果之後關掉了Terminal (這個黑色的視窗),下次想回來繼續玩 Python 版時,記得要再跑一次 .\venv\Scripts\activate 啟動指令
步驟五:下載模型檔案
在執行程式碼前,請先下載模型檔,並放在 .py 檔案同一個資料夾內:
- 模型下載連結:efficientdet_lite0.tflite
步驟六:撰寫測試腳本 (detector.py)
import mediapipe as mpfrom mediapipe.tasks import pythonfrom mediapipe.tasks.python import vision# ==========================================# Annie's AI Lab - Object Detection Script# Model: EfficientDet-Lite0# ==========================================def run_detection(): # 1. Configuration: Set the model path # Ensure 'efficientdet_lite0.tflite' is in the same directory model_path = 'efficientdet_lite0.tflite' # 2. Detector Options Setup # score_threshold: Lowering this might help find the "hidden" celery! base_options = python.BaseOptions(model_asset_path=model_path) options = vision.ObjectDetectorOptions( base_options=base_options, score_threshold=0.3, running_mode=vision.RunningMode.IMAGE ) # 3. Create Detector Instance with vision.ObjectDetector.create_from_options(options) as detector: # 4. Load the input image # Ensure the filename matches your photo (e.g., 'test.jpeg') image_file = 'test.jpeg' try: numpy_image = mp.Image.create_from_file(image_file) except Exception as e: print(f"Error: Could not load image file '{image_file}'. {e}") return # 5. Execute Inference detection_result = detector.detect(numpy_image) # 6. Output Analysis Report print("\n" + "="*45) print(" ANNIE'S PYTHON AI LAB - SCAN REPORT 🐰✨") print("="*45) if not detection_result.detections: print("Status: No objects detected above threshold.") print("Action: Try lowering the score_threshold in the code.") else: print(f"Status: {len(detection_result.detections)} object(s) found.") print("-" * 45) for i, detection in enumerate(detection_result.detections): category = detection.categories[0] label = category.category_name.upper() confidence = round(category.score * 100, 2) # Retrieve Bounding Box Coordinates bbox = detection.bounding_box print(f"[{i+1}] Object: {label}") print(f" Confidence: {confidence}%") print(f" Location: [X:{bbox.origin_x}, Y:{bbox.origin_y}, W:{bbox.width}, H:{bbox.height}]") print("-" * 45) print("UAT Result: Scan completed successfully.")if __name__ == "__main__": run_detection()
步驟七:把測試的圖檔命名為 test.jpeg,放在 .py 檔案的資料夾。
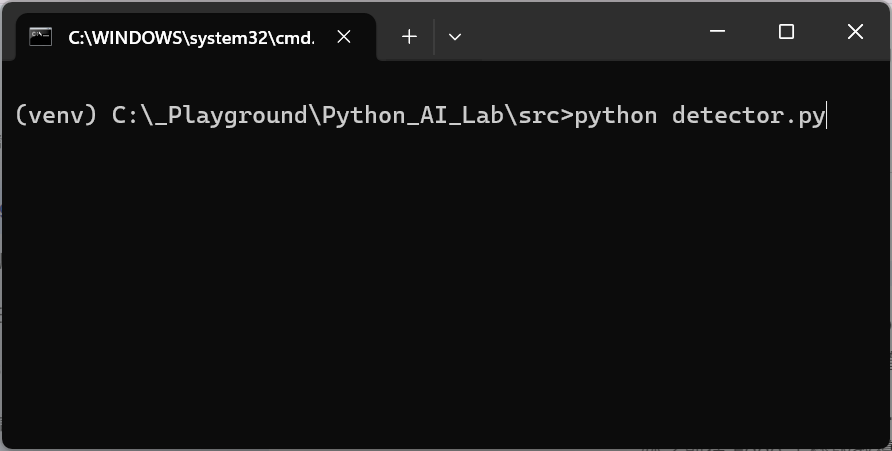
步驟八:在有(venv)字眼的 terminal, 在.py 檔案的資料夾,行 command python .py 檔案的名字。
💯 測試完成~ ✨
